Power Supply Swap
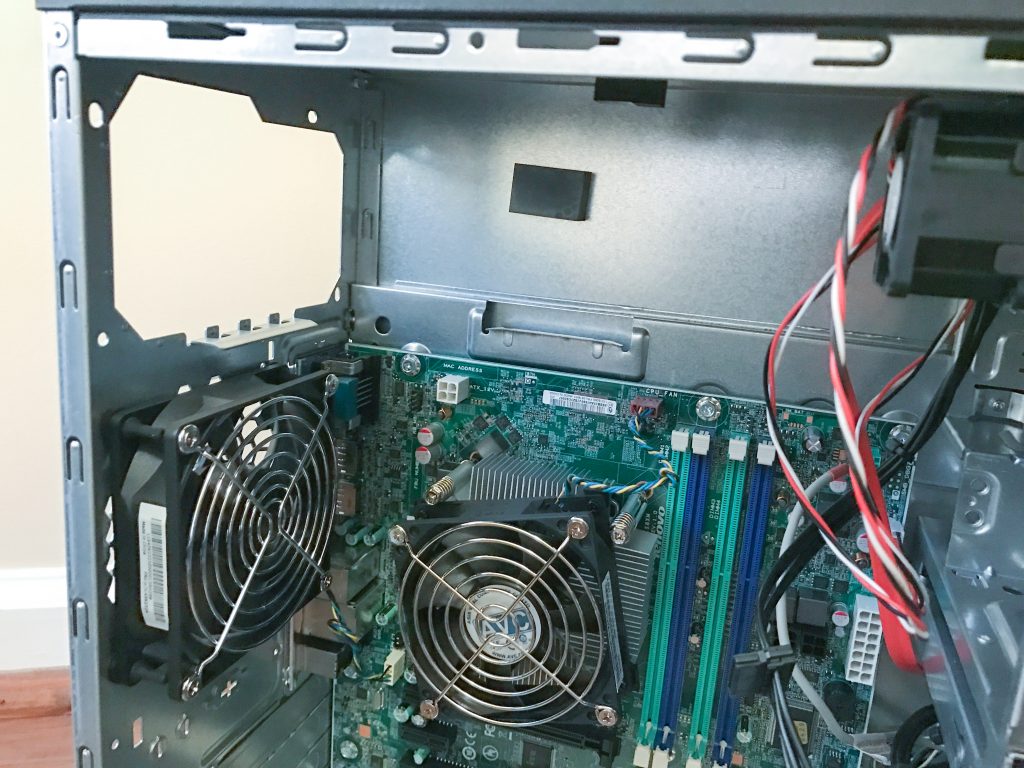
As I mentioned in my previous entry about the server I purchased, Lenovo engineers made a decision to route power for the TS140’s drives through the motherboard rather than directly from the power supply. In a situation where only one or two drives are present I imagine this isn’t much of an issue. However, given that I intend to cram this case with 6 drives, I don’t have a great feeling about drawing that kind of power through the traces on the board. It seems like a recipe for circuit burnout.
To boost my confidence in the TS140’s power situation I decided early on that the power supply unit would need to be replaced. Fortunately it’s just a standard ATX power supply, so the physical swap is pretty easy. It does come with one small problem that I’ll get to later. For now, let’s talk about the replacement PSU.
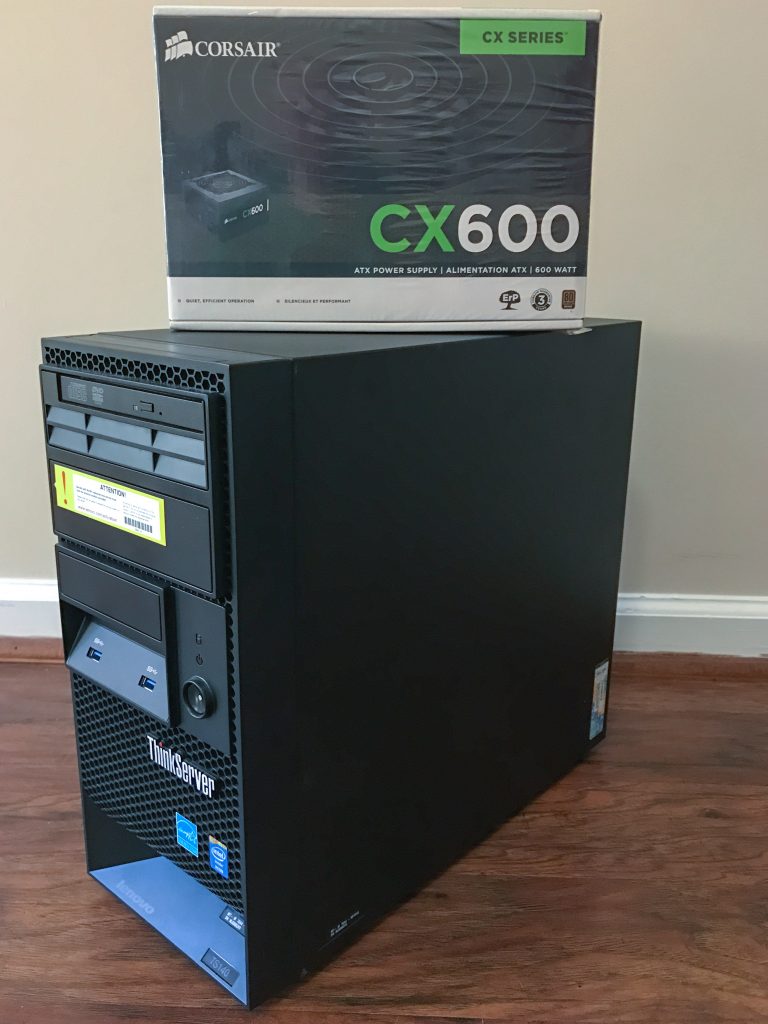
For the replacement PSU I chose the Corsair CX600. Its 600 watt rating should supply more than enough power for the six drives, the dual-port NIC card, the RAID card and our processing requirements. It’s fairly inexpensive and has been positively reviewed many thousands of times at Amazon. This ticks all of my boxes.
Swapping it out was as straightforward as any other standard ATX power supply. After disconnecting the cables in the case, it’s just four screws to remove it from the case. My 10 year-old actually performed the operation for me.
While the old PSU was removed by my son, I unboxed the CX600 and got it ready to go.

Within a few minutes my son had the PSU mounted and ready for the Power connections to the motherboard.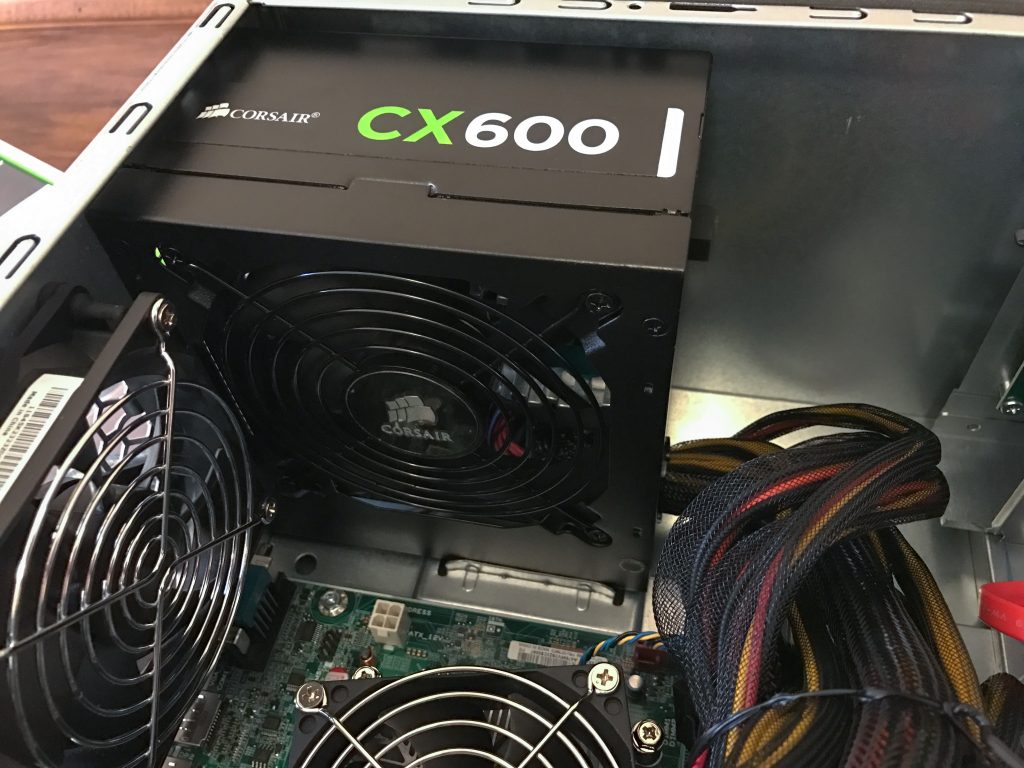
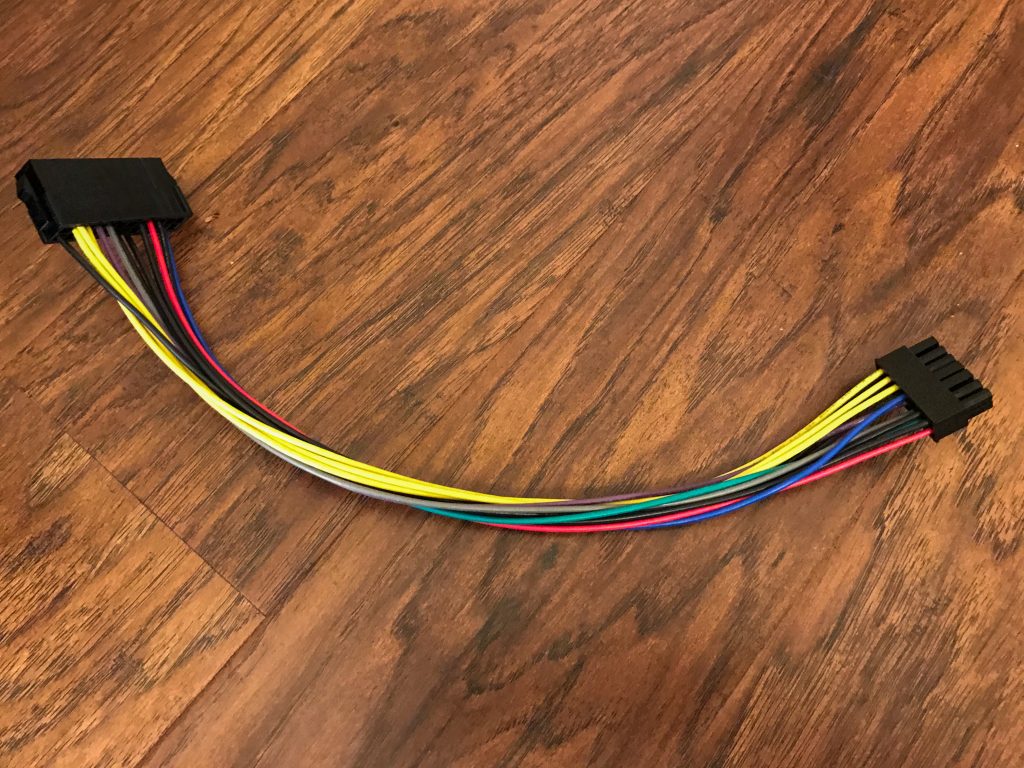
This is where we encounter one of the little problems I mentioned earlier in this post. Unfortunately Lenovo uses a proprietary 14-pin power connector for their PSUs and motherboards, so swapping in a standard PSU requires a 24-pin to 14-pin adapter. Fortunately these are readily available on Amazon for around $5 and I was aware of this ahead of time.
With the adapter at the ready, we were easily able to connect the CX600 to the motherboard. There is an additional 4-pin power connection for the motherboard. The factory power supply had a dedicated 4-pin power cable for this task. The CX600 seemed to have no such cable. Upon further inspection I realized that there was a CX600 cable with an 8-pin connector marked “CPU” that could actually be split in half at the connector. This provided the 4-pin connection required and completed the installation.
In the next entry I hope to be able to cover the installation of the RAM, the dual-port NIC, the RAID card, and the two Solid-State Drives that my virtual machines will live on.
3 thoughts on “Power Supply Swap”
Are you still happy with your CX600? I have two Optiplex 760 Minitowers that need new PSUs and looking for a good reliable quiet replacement. They too are standard ATX, rated at 305W. I am thinking perhaps the 500W version of the Corsair (CX500) may do. I don’t use high end Gfx, but have 2-4 drives at all times. Will pull one of the old PSUs today to compare cables and connectors before ordering.
https://smile.amazon.com/Corsair-CX600-Supply-Bronze-Certified/dp/B0092ML0MY/
BTW check out this page i ran across when researching.
http://www.birdbird.org/electronics/optiplex-760-power/optiplex-760-power.html
i especially love the footer:
Powered by Gimp, ImageMagick, and, of course, vi.
that is my level of web development 🙂
cheers!
kevin
Ha! That page is awesome. 🙂
The CX600 has been fine for me so far with the qualifier that it’s mostly gone unused given that my project is in a halted state. It has been quiet and solid for the bits that I’ve used it though.
If I had it to do over again I’d probably try to get one with modular cables. Trying to tuck away all the extras that I don’t need has been a bit of a pain, but that’s mostly just because I like to keep things tidy inside a case.
i went ahead w/ the CX600 because the efficiency curve looks nearly flat (impressive from the design standpoint) and the lower %load will mean slower fan and quieter, and only $9 more.
thx 🙂